 Bellingham Exterior
 Siding Installation Built for the Puget Area's Weather, Not Against It
Homes in the Puget area of Bellingham sit close enough to the water and deep enough into Whatcom County's wet season that siding gets tested every year in ways a lot of manufacturers' marketing materials don't account for. Salt-laden air moving off the Sound, long stretches of driving rain, and months of low sun angles that keep north- and west-facing walls damp all add up to a harder job for exterior cladding than most siding products were designed to handle. A siding installation done right in this neighborhood isn't just about appearance — it's about choosing a material and installation method that can actually stand up to the specific conditions your house sits in.
This page is about one thing: what a correct siding installation looks like for a Puget-area home, why the local climate changes the calculus, and how we approach the work when we're on your property.
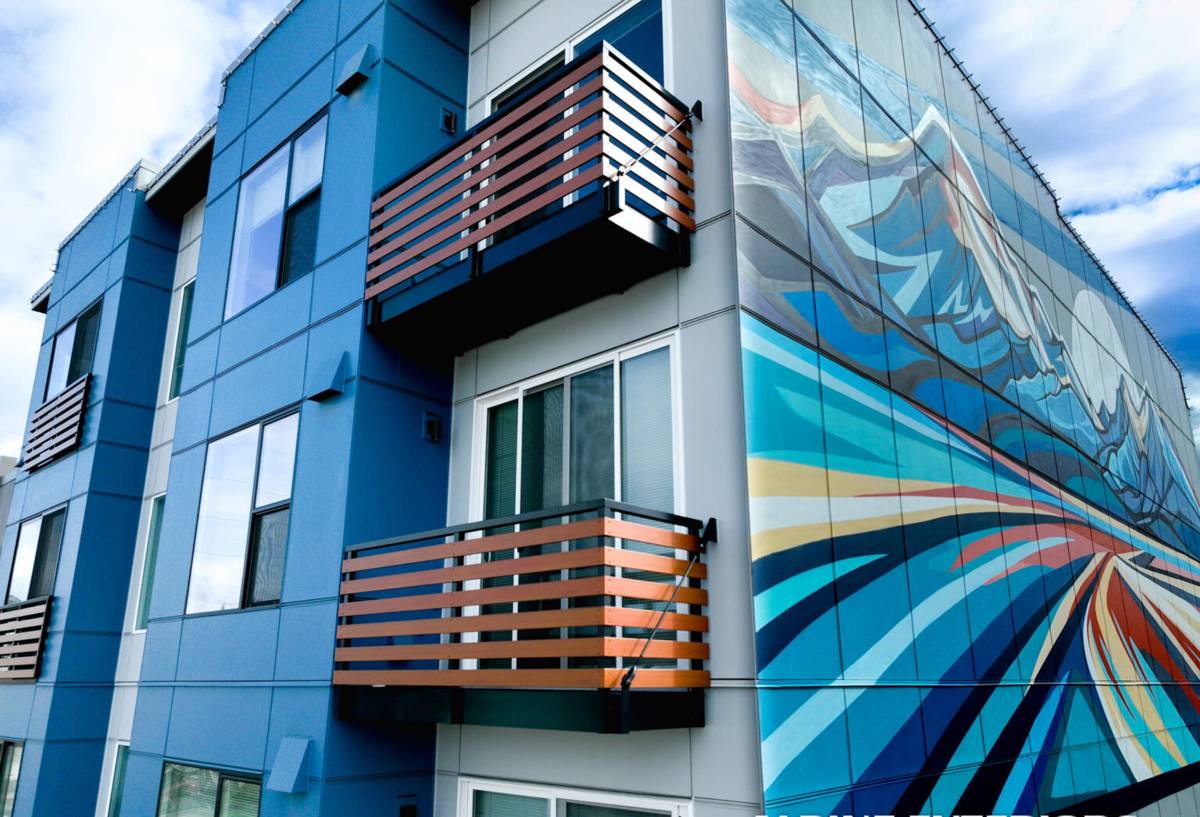
What Salt Air, Rain, and Moss Actually Do to Siding
Each of these three conditions attacks siding differently, and understanding the mechanism matters when you're deciding what to put on your walls.
Salt air and moisture-driven corrosion
Airborne salt from the Sound doesn't just sit on the surface — it works into fasteners, trim joints, and any exposed metal flashing. Over years, that accelerates corrosion in lower-grade fasteners and can degrade certain finishes faster than the same product would wear inland. It also means any hardware used in the installation, not just the siding itself, needs to be rated for the exposure.
Driving rain and wind-driven water intrusion
Bellingham doesn't just get rain — it gets rain pushed sideways by wind off the water, which finds every gap, undersized overlap, and poorly sealed penetration in a wall assembly. Siding that relies on face-sealing (caulk and paint doing the work of keeping water out) tends to fail here faster than a system designed to shed water and let a drainage plane do its job behind the cladding.
The long moss and algae season
Shaded, north-facing walls and anything under tree cover stay damp for extended stretches of the year, which is exactly what moss and algae need to take hold. Once organic growth establishes itself on a wall, it holds moisture against the siding surface, which shortens the life of paint, primed wood products, and anything with a finish that isn't factory-baked to resist it.
What a Correct Installation Actually Involves
Most siding failures we get called out to inspect aren't a failure of the siding material itself — they're a failure of installation detail. Getting this right on a Puget-area home means paying attention to the parts nobody sees once the job is done.
- A continuous, correctly lapped weather-resistant barrier behind the siding, with every seam and penetration sealed
- Rainscreen or furring strip application where wall orientation and exposure call for it, so water has somewhere to drain and air has somewhere to move
- Correct fastener type, length, and spacing for the specific product being installed — not a generic nailing pattern
- Proper flashing at every window, door, roofline, and deck ledger, integrated with the barrier rather than just caulked over it
- Manufacturer-specified clearances at grade, roof lines, and horizontal trim to keep siding from wicking moisture
- Correct joint treatment and gapping to allow for the material's natural expansion and contraction
Skip any one of these and the siding can look fine for a season or two while moisture is already getting into the wall assembly behind it — which is a far more expensive problem to fix than the siding itself.
Why We Install Only James Hardie Fiber Cement
We don't install vinyl, LP SmartSide, Cemplank, Allura, primed spruce, or cedar. That's a deliberate standard, not a limitation in what we're capable of installing. Each of those products has legitimate strengths, but each also comes with a trade-off — moisture sensitivity, finish maintenance, appearance limitations, or long-term warranty structure — that we've decided isn't worth carrying onto a home in a climate like this one.
James Hardie fiber cement is non-combustible, dimensionally stable in wet-dry cycling, and comes with a factory-applied ColorPlus finish that's baked on rather than field-painted, which matters a great deal when a wall is going to face years of driving rain and salt exposure. Hardie's HZ5 product line is engineered specifically for climates with extended moisture exposure, which describes this part of Whatcom County well. The finish resists fading and holds up to the kind of damp, low-light conditions that feed moss growth, and the company backs it with a strong transferable warranty when the product is installed to their specification.
That last part — installed to spec — is the whole reason our installation process exists as a documented, repeatable set of steps rather than "however the crew feels like doing it that day." A great product installed loosely still fails. A well-installed product from a manufacturer that engineers for this climate is what actually protects the investment.
Our Installation Process
The sequence below is the general shape of a siding installation on a Puget-area home. Specifics shift depending on your home's existing wall assembly, age, and condition, which is why we start with an in-person look before quoting anything.
- Inspection and assessment. We look at the existing siding, sheathing condition, trim, and any areas showing signs of past moisture intrusion before we ever talk product or price.
- Tear-off and sheathing check. Old siding comes off and we inspect the sheathing underneath. Rot or soft spots get flagged and addressed before anything new goes up — covering a compromised wall with new siding just hides the problem.
- Weather-resistant barrier installation. A new, continuous barrier goes on with correct lapping and sealed penetrations.
- Rainscreen application where called for. Depending on wall orientation and exposure, we install furring to create a drainage gap behind the siding.
- Flashing at all penetrations. Windows, doors, roof intersections, and anything else that breaks the wall plane gets flashed and integrated into the barrier system.
- Hardie installation to manufacturer spec. Fastener type, spacing, clearances, and joint treatment follow James Hardie's published installation guidelines, not shortcuts.
- Trim, caulking, and final detail work. Finish trim goes on last, with sealant used as a backup to good flashing detail, not as the primary defense against water.
- Final walkthrough. We go over the finished work with you before calling the job done.
Cost Factors for a Puget-Area Siding Project
Every home is different, so we don't publish flat prices — but the factors that move a quote up or down are consistent. Here's what typically drives the range on a project in this area:
| Factor | Why It Matters Here |
|---|---|
| Home size and wall complexity | More square footage, corners, and dormers mean more material and labor time |
| Condition of existing sheathing | Rot or moisture damage found during tear-off adds repair scope before new siding can go on |
| Rainscreen requirement | Shaded or heavily exposed walls often need furring for drainage, which adds material and labor |
| Siding profile and trim detail | Lap width, shingle-style panels, and trim complexity all affect material cost and install time |
| Access and site conditions | Tight lots, slopes, and landscaping close to the house can add setup time |
| Story height | Multi-story walls require more scaffolding or lift equipment |
Signs Your Current Siding Is Already Losing the Fight
A lot of homeowners in this area don't call about siding until something visible shows up — but by then, the problem has usually been developing behind the wall for a while. Watch for:
- Persistent moss or algae staining that comes back within a season of cleaning
- Soft or spongy spots when you press on siding, especially near the bottom courses
- Paint that's peeling, bubbling, or failing faster than it used to
- Visible gaps, warping, or buckling in panels or lap boards
- Musty smell or discoloration on interior walls that share an exterior wall with visible siding damage
- Caulk that's cracked or pulled away at trim and window joints
Any one of these on its own might be minor. Several together, especially on a wall that faces prevailing wind and rain, usually means it's worth having someone take a real look before it becomes a sheathing problem.
Why a Crew That Already Works in This Area Matters
Siding installation isn't identical everywhere in Bellingham. A wall on a exposed, water-facing lot in the Puget area needs different attention to drainage and flashing than a sheltered lot a mile inland. A crew that's already worked this specific stretch of Whatcom County has a feel for which walls need a rainscreen gap as a default rather than an upsell, which orientations collect moss fastest, and where wind-driven rain actually tends to find its way in. That's not something you get from a general contractor working from a manufacturer's install sheet alone — it comes from having done the work on homes with the same weather exposure yours has.
After Installation: What Upkeep Actually Looks Like
One of the real advantages of a correctly installed James Hardie system in this climate is how little it asks of you afterward. There's no repainting cycle to keep up with the way there is on wood or primed products — the ColorPlus finish is factory-cured and holds color for years. Maintenance mostly comes down to periodic rinsing to keep moss and algae from establishing on shaded walls, checking caulk lines at trim joints every year or two, and keeping gutters and downspouts clear so water isn't dumping directly onto a wall section. None of that requires special equipment or a contractor visit — it's the kind of upkeep any homeowner can stay on top of with an occasional walk around the house.
If your siding is showing wear, if you're planning ahead for a home in the Puget area, or you just want an honest opinion on what your current walls actually need, we're happy to take a look. Reach out for a free, no-pressure estimate using the form below.