 Bellingham Exterior
 Building New in Barkley? Get the Windows Right the First Time
Barkley is one of Bellingham's newer planned neighborhoods, which means a steady mix of new builds, spec homes, and owner-built projects going up on lots that back up to greenways, ponds, and open drainage corridors. New construction gives you one real advantage over a retrofit: the window openings aren't finished yet. You get to choose the window, the flashing detail, and the exterior finish sequence before anything is buried behind siding or stucco. Get that sequence wrong, though, and you're stuck living with it for the life of the house.
We install new-construction windows for builders and homeowners working in Barkley and the surrounding Bellingham area. Our focus on this page is narrow on purpose: what a correct new-construction window installation looks like in this specific part of Whatcom County, and why the install matters as much as the window itself.
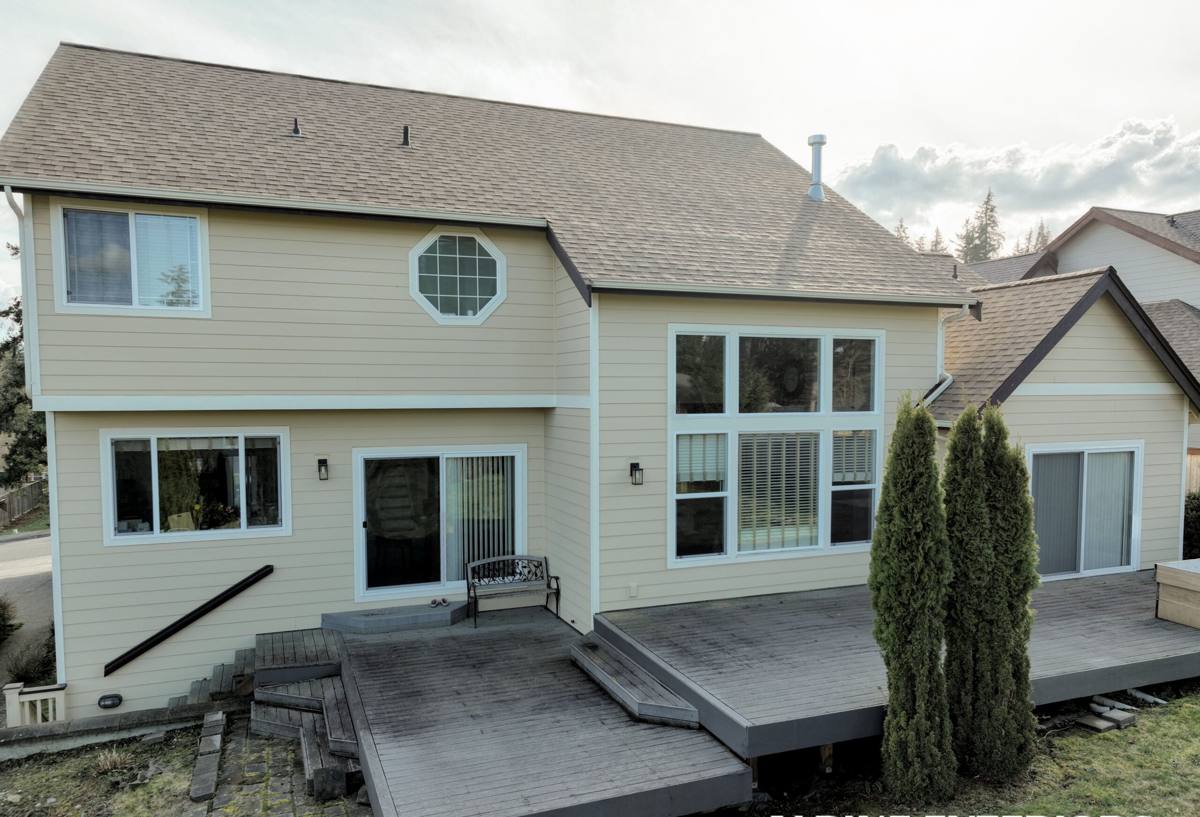
What Barkley's Climate Actually Does to a Window Opening
Bellingham sits close enough to Bellingham Bay and the Salish Sea that salt-laden air reaches inland neighborhoods like Barkley, especially on windy days. Combine that with Whatcom County's long wet season — steady, driving rain from fall through spring, not just occasional storms — and you get two forces working against a window opening at the same time: corrosion pressure on hardware and fasteners, and sustained moisture pressure on the rough opening itself.
Add in moss. Bellingham's mild, damp climate keeps roofs, siding, and north-facing trim wet for extended stretches, and moss doesn't stay confined to the roof. It creeps into siding laps, trim joints, and anywhere water sits instead of draining. Around a window, a poorly flashed opening gives moss and mildew exactly the damp, shaded pocket they need to take hold, and once organic growth is established against a wall assembly, it holds moisture against the wood or sheathing far longer than open air would.
None of this is exotic weather. It's just persistent. A window installed correctly the first time shrugs it off for decades. A window installed with shortcuts — reused flashing tape, skipped sill pans, sealant used as a substitute for proper flashing laps — will show problems within a few wet seasons, usually as staining, soft trim, or a draft that wasn't there when the house was new.
Why New Construction Is the Best (and Only) Time to Get This Right
Once siding, stucco, or stone veneer is installed over a window opening, the flashing underneath it is hidden. If it was done wrong, you won't know until water finds its way in — and by then you're paying to open up finished exterior work to fix it. New construction is the one point in a home's life where every layer of the opening is visible and correctable before it's covered. That's the whole reason a careful new-construction install is worth the extra attention compared to a routine replacement job.
What a Correct New-Construction Window Install Involves
A window is only as good as the opening it sits in. For new construction in a climate like Bellingham's, the installation sequence matters more than the brand of window going into it. Here's what we do at each rough opening:
- Sill pan flashing — a sloped, sealed pan under the sill so any water that gets past the window drains back out, not into the wall cavity.
- Correct flashing shingle-lap order — sill flashing first, then jamb flashing, then head flashing, each one lapping over the piece below it so water always sheds outward and downward, never into a seam.
- Housewrap integration — the window's flashing has to tie into the building's weather-resistive barrier correctly, with head flashing lapped under the housewrap above the opening, not just taped over the top of it.
- Proper shimming and squaring — the window is set plumb, level, and square in the opening before it's fastened, so sashes operate smoothly and won't bind or leak at the corners over time.
- Fastening per manufacturer spec — correct fastener type, spacing, and location to preserve both structural performance and warranty coverage.
- Interior and exterior sealant, not just one or the other — a continuous air seal on the interior and a compatible weatherproof sealant on the exterior, so the assembly manages both air leakage and bulk water separately.
- Insulation of the gap between frame and rough opening — low-expansion foam or backer rod and sealant, sized to avoid bowing the frame, which can cause operational problems in vinyl and fiberglass windows especially.
Skip or rush any one of these steps and the window itself becomes almost irrelevant — even a premium unit will underperform in a poorly flashed opening.
Choosing Windows for a Barkley New Build
Product choice matters, but it matters less than most homeowners assume relative to installation quality. That said, in a salt-air, high-moisture climate, a few practical factors are worth weighing up front.
| Factor | What to Consider Locally |
|---|---|
| Frame material | Vinyl and fiberglass resist corrosion better than exposed aluminum hardware in salt-influenced air; fiberglass holds paint and dimensional stability well over Bellingham's temperature swings. |
| Hardware finish | Look for corrosion-resistant coatings on hinges, locks, and cranks — cheap plated hardware can pit or seize faster in coastal-influenced air. |
| Glazing package | Double-pane, low-E glass is standard for our climate; argon fill adds efficiency without a major cost jump. |
| Sill design | Sloped sills with a clear drainage path matter more here than in drier climates — standing water on a sill is a moss and rot invitation. |
| Exterior trim/cladding compatibility | Whatever trim or cladding meets the window needs a drainage gap or back-ventilation, not a sealed-tight joint that traps moisture against the frame. |
We don't push one brand as the only right answer — several manufacturers make solid new-construction windows suited to the Pacific Northwest. What we do insist on is a nailing-flange, new-construction-rated window (not a retrofit/replacement-style unit) for new openings, correctly integrated with the flashing and drainage plane. That distinction alone prevents a lot of long-term moisture problems.
Our Process for Barkley New-Construction Projects
1. Plan Review and Opening Coordination
We work from the framing plan or existing rough openings to confirm window sizes, swing/slide directions, and any structural headers or nailing-flange clearances before installation day.
2. Pre-Install Opening Check
Every rough opening gets checked for square, plumb, and correct dimensions before a window ever goes in. Catching a framing issue now is far cheaper than catching it after the window is set.
3. Flashing and Sill Pan Installation
Sill pans and flashing are installed in the correct shingle-lap sequence described above, tied into the housewrap or weather barrier already on the wall.
4. Window Set, Shim, and Fasten
Each window is set, shimmed square, and fastened to manufacturer spec, then operation-checked before final sealing.
5. Seal, Insulate, and Document
Interior air sealing, exterior weatherproof sealant, and cavity insulation are completed, and we note any manufacturer-specific warranty registration steps so the homeowner or builder has that on record.
6. Final Walkthrough
We walk every opening with the builder or homeowner, confirming operation, sealing, and finish before we consider the job done.
Why It Matters That We Already Work in Barkley
Barkley's mix of newer construction means we're regularly on-site with builders who are actively sequencing framing, weather barrier, siding, and window installs together — and window flashing has to coordinate with whatever's happening on either side of it in that sequence. A crew that already knows how local builders in Bellingham typically sequence a new-construction wall assembly can flag a conflict — say, housewrap installed in a way that won't lap correctly over head flashing — before it becomes a callback.
There's also a simple continuity benefit. If a warranty question comes up two or five years from now, having a contractor who's local, has the job on record, and isn't difficult to reach matters. We're not travelling in from out of the area for a one-off install; Bellingham and Whatcom County are where we work every week.
Common New-Construction Window Mistakes We See
- Retrofit-style windows (no nailing flange) used in new framed openings, relying on sealant alone instead of proper flashing.
- Flashing taped in the wrong lap order, which routes water into the wall instead of away from it.
- Sealant used as the primary water barrier instead of a backup to correct flashing and drainage.
- Windows fastened before being checked for square, leading to hardware binding or premature seal failure.
- Housewrap cut and taped around the opening without integrating the head flashing lap correctly.
- Skipped or undersized sill pans, leaving no drainage path for water that gets past the sash.
Every one of these is invisible once the siding goes on — which is exactly why the installation crew's habits matter more than any single product spec sheet.
A Straightforward Estimate for Your Barkley Project
Whether you're a builder coordinating window installs across a new Barkley development or a homeowner overseeing your own build, we're happy to walk the plans or the framed openings with you and give you a clear, honest estimate — no pressure, no inflated add-ons. Fill out the form below to get started.