 Bellingham Exterior
 Building New in Birch Bay Means Building for the Water
Birch Bay sits right on the water, which is exactly why people build here — and exactly why new-construction windows need more thought than they would a few miles inland. A new home or addition gives you one real chance to get the window openings right: correct rough openings, correct flashing sequence, correct product for the exposure. Once the siding and trim go on, fixing a mistake means tearing back into finished work. On a retrofit you're often working around what's already there; on new construction, you're setting the standard the house will live with for decades.
We work window installations into new builds and additions around Bellingham and Whatcom County regularly, and Birch Bay properties get a specific mix of conditions that shape how we spec and install: salt-laden air off the bay, wind-driven rain that hits walls sideways instead of falling straight down, and a moss season that runs long and damp for much of the year. None of that is exotic — it's just Pacific Northwest coastal living — but it does mean a window package that works fine in a sheltered inland lot can underperform on an open, water-facing site.
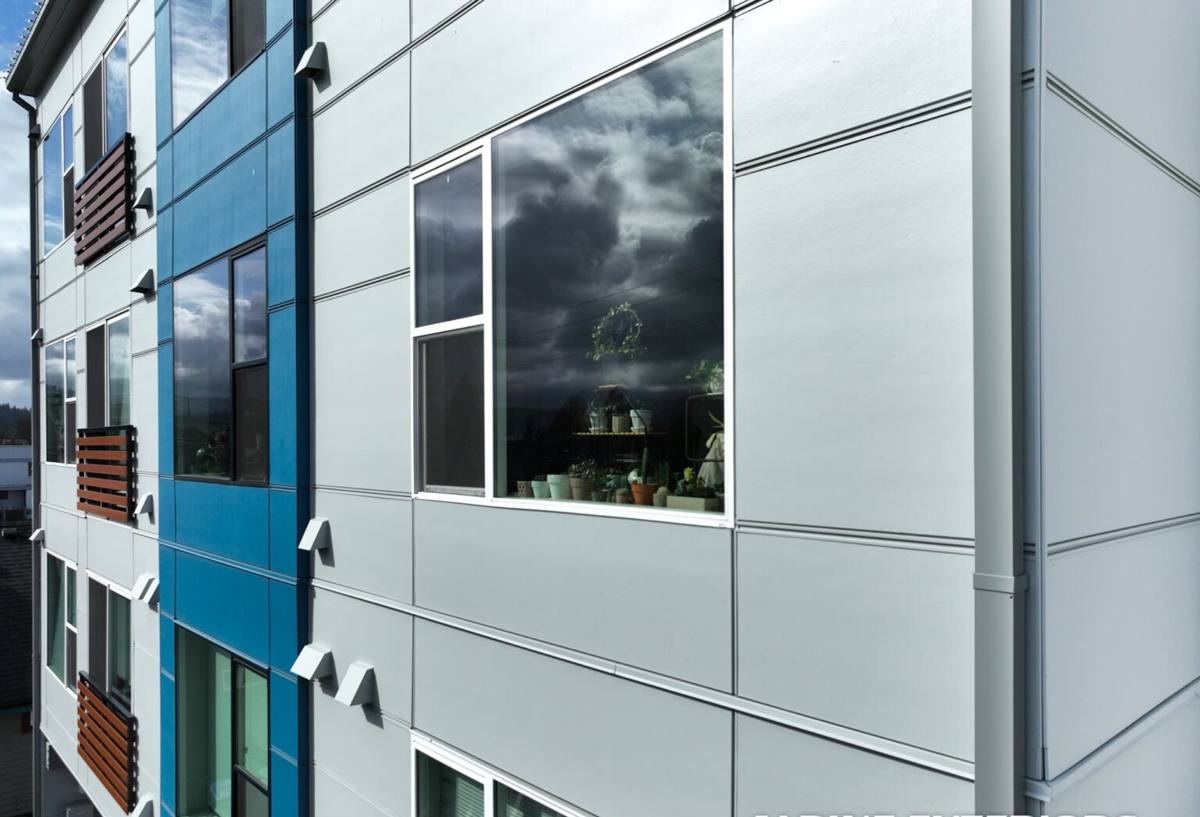
What "New Construction" Actually Changes About the Job
You're Installing Into a Rough Opening, Not an Existing Frame
New-construction windows are installed with a nailing fin directly to the sheathing, before siding goes on, as part of the building envelope — not inserted into an existing frame the way a retrofit replacement window is. That gives us full access to the rough opening, the housewrap or weather-resistive barrier, and the flashing details. It's a better installation method when it's available, because every layer is visible and correctable before it gets covered.
Sequencing Matters
Windows go in at a specific point in the build — after the weather barrier is on, before siding and trim. If that sequence gets rushed or skipped around, you end up with shortcuts in the flashing that nobody sees until there's a leak years later. Coordinating with the general contractor's schedule so the windows go in correctly, not just quickly, is a real part of the job.
What Birch Bay's Climate Actually Demands
Salt Air
Homes near the bay deal with airborne salt that accelerates corrosion on hardware, fasteners, and lower-grade metal components. We favor corrosion-resistant hardware and fastener specs for anything close to the water, and we're careful about metal-on-metal contact points that can gall or corrode faster in a salt environment.
Driving Rain
Wind off the water pushes rain sideways into walls, not just down onto roofs. That means the flashing at the head, jambs, and sill has to actually shed water outward and downward under wind pressure, not just under gravity. A window that's watertight in calm rain can still leak in a Birch Bay windstorm if the flashing details weren't built for driving rain in the first place.
A Long Moss Season
Extended damp periods mean anything that traps moisture — poor drainage at the sill, gaps in the weather barrier lap, caulk used as a substitute for real flashing — has more time to do damage before it dries out. Good sill pan flashing and a functioning weep path aren't optional details here; they're what keeps a window opening from staying wet for weeks at a stretch.
Choosing Materials and Products for This Site
There's no single "best" window brand — the right choice depends on budget, exposure, and how the house is built. What we won't do is install a product a certain way just because it's faster, if that installation method compromises how it performs against wind-driven rain. Below is a general comparison of the main frame materials we see specified on new builds in this area.
| Frame Material | Typical Strengths | Trade-Offs on a Coastal Lot |
|---|---|---|
| Vinyl | Cost-effective, low maintenance, good energy performance | Quality varies a lot by manufacturer; look for reinforced corners and marine-grade hardware options |
| Fiberglass | Very stable dimensionally, holds paint well, strong in temperature swings | Higher upfront cost than vinyl; fewer ultra-budget options |
| Wood-Clad | Warm interior appearance, classic look for certain architectural styles | Cladding and seals need to be well-detailed at the sill; more maintenance sensitivity near salt air |
| Aluminum | Slim sightlines, common on larger view openings | Conducts heat and cold readily; needs thermal breaks for this climate |
For a bay-facing elevation, we talk through glazing package too — a good low-E, argon-filled dual pane is standard practice here, and on more exposed openings we'll discuss impact-resistant or heavier-gauge glass where wind exposure and window size make sense together.
Flashing and Installation Details That Do the Real Work
The window unit itself gets most of the attention, but the flashing and installation sequence around it is what actually keeps water out over twenty or thirty years. On every new-construction opening we build in:
- A sloped sill pan flashing that drains water outward, not toward the framing
- Properly lapped jamb and head flashing, integrated with the weather-resistive barrier in correct shingle-style order
- Sealant used at the right layers, not as a substitute for physical flashing
- Backer rod and sealant at the interior air seal, separate from the exterior water management
- Corrosion-appropriate fasteners given the proximity to salt air
- A functioning weep path so any incidental water that does get past the outer defenses can drain back out
Skipping or rushing any one of these is usually invisible at close-out and only shows up as a stain, a soft spot, or a mold issue years down the road — exactly the kind of failure that's expensive to trace once siding and interior finishes are covering it.
How We Approach a New-Construction Window Job
1. Review Plans and Exposure
Before ordering, we look at where the house sits relative to prevailing wind and rain direction, how exposed each elevation is, and what the architect or builder already specified. Bay-facing walls often warrant a different spec than a sheltered elevation on the same house.
2. Confirm Rough Openings
We verify rough opening sizes against the actual window schedule before units arrive, so there's no scramble or field-modification once framing is set.
3. Install in Sequence With the Envelope
We coordinate with the builder's schedule so windows go in at the right point relative to the weather barrier and before siding — not squeezed in out of order to hit a deadline.
4. Flash, Seal, and Air-Seal Correctly
Every opening gets the full flashing sequence described above, plus interior air sealing, before trim covers the details.
5. Final Check
We walk every opening, check operation, confirm weep paths are clear, and verify nothing was compromised by trades working around the windows afterward — siding crews, stucco, or stone veneer installers can accidentally block a weep path if nobody's watching for it.
Working Alongside Builders and GCs
On new construction, window installation doesn't happen in isolation — it's one trade in a sequence with framers, the weather barrier crew, siding, and trim. We're used to coordinating directly with general contractors and, where it's helpful, architects, so the window schedule matches what's actually being built and the installation timing doesn't get forced out of order to save a few days. If you're a homeowner working with your own GC, we're glad to work as a sub on your build; if you're a GC or builder, we can quote the window package as part of your broader schedule.
A Practical Checklist Before Windows Go In
- Rough openings verified against the final window schedule, not just the original plans
- Weather-resistive barrier installed and inspected before window install begins
- Sill pan flashing plan confirmed for each opening, especially bay-facing walls
- Hardware and fastener spec appropriate for salt air exposure
- Glazing package matched to sun exposure and wind loading, not just budget
- Installation crew coordinated with siding/trim trades so sequencing isn't rushed
- Weep paths confirmed clear after all exterior finish work is complete
Why Local Experience in Birch Bay Matters
A window that's correctly installed in Ferndale or on a sheltered Bellingham lot isn't automatically correct for an open Birch Bay elevation. Knowing how hard the wind actually drives rain on a particular stretch of shoreline, how long moss season really runs in a given year, and which details fail first in salt air isn't something you get from a spec sheet — it comes from having done the work here repeatedly and seen what holds up and what doesn't. That's the difference between a window package that looks right on install day and one that's still performing correctly ten winters later.
If you're planning new construction or an addition in Birch Bay and want windows specified and installed correctly the first time, we're happy to walk the plans with you and put together a free, no-pressure estimate — just fill out the form below.