 Bellingham Exterior
 Windows Built for Columbia's Weather, Not Just Its View
Columbia sits close enough to the water and the weather it brings that window performance here isn't just about energy bills — it's about keeping wind-driven rain and salt-laden air out of your wall assembly year after year. Whatcom County gets long stretches of low-intensity rain punctuated by real storms off the Strait, and that combination is harder on window seals and frames than most homeowners realize until they see staining, soft trim, or a window that won't latch flush anymore.
A window that looks fine from the street can still be letting moisture into the rough opening. In a neighborhood like Columbia, where many homes have decades of paint layers and original trim, the installation details around the window matter as much as the window unit itself. This page covers what a correct window installation looks like here, what we actually do on the job, and why local experience changes the outcome.
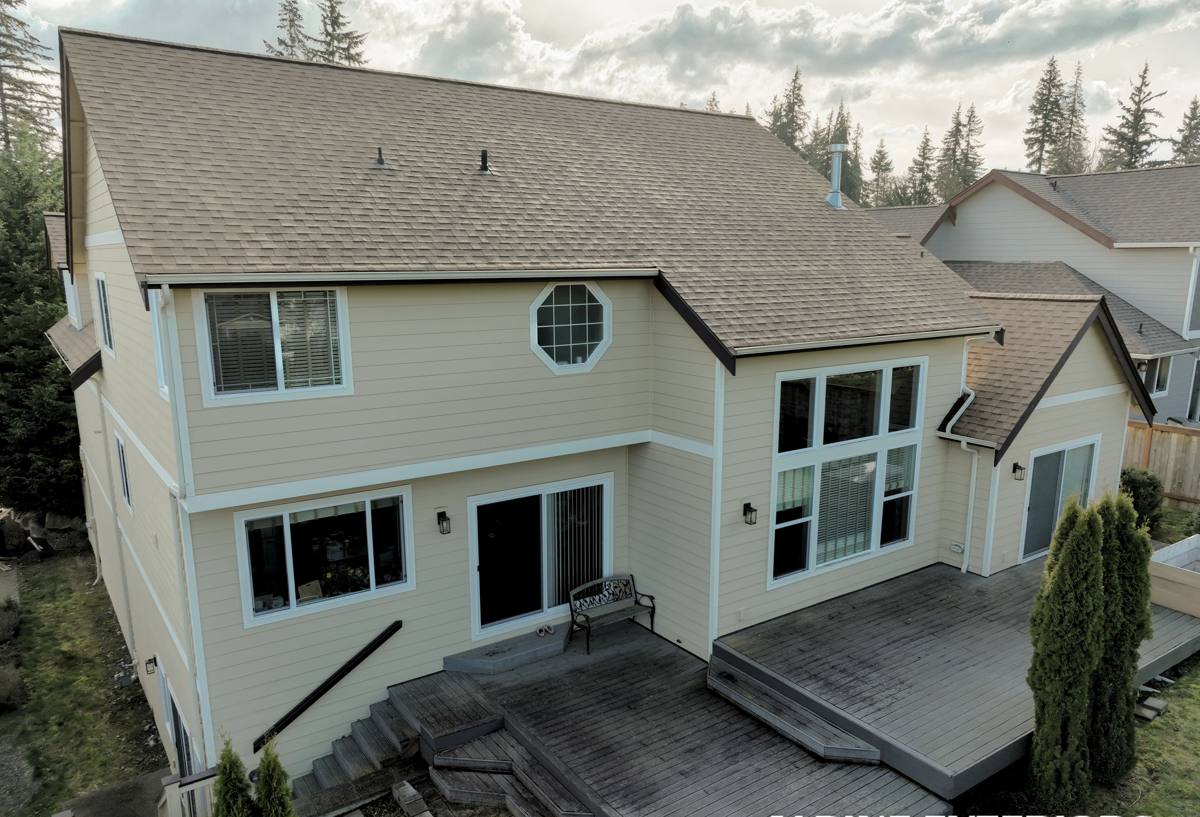
What the Local Climate Does to Windows Over Time
Three things wear on windows in this part of Bellingham more than in drier inland climates:
- Salt air: Even a few miles from the water, airborne salt accelerates corrosion on hardware, screws, and any exposed metal flashing that isn't rated for it.
- Driving rain: Wind off the Strait pushes rain sideways into wall assemblies, which means gravity-only flashing details fail here in ways they might not further inland.
- Moss and organic growth: Extended damp seasons let moss and algae take hold on sills, trim, and anywhere water sits instead of shedding, which traps moisture against wood and paint longer than it should sit.
None of this means Columbia is a hostile place to own a house — it means the installation has to account for how water actually moves in this climate, not just how it's supposed to move on a sunny day.
Signs a Window Needs Attention
Most window failures around here start small and get dismissed as cosmetic. Watch for these:
- Soft or spongy trim or sill wood when pressed with a thumb
- Paint bubbling or peeling at the corners of the window, not the whole sash
- Fogging or a visible haze between panes on double- or triple-glazed units (a broken seal)
- Drafts you can feel with a hand near the frame on a windy day
- Difficulty locking, or a sash that doesn't sit flush against the frame anymore
- Moss or dark streaking building up on the sill or below the window on the siding
- Musty smell near the window that wasn't there before
Any one of these on its own might not mean a full replacement. Several together, especially soft wood plus staining, usually means water has been getting behind the trim for a while.
What a Correct Installation Actually Involves
The Rough Opening and Sill Pan
The window unit itself is often the easy part. What determines whether a window stays dry for the next twenty years is what happens in the rough opening before the window ever goes in — specifically a sloped sill pan that directs any water that gets past the window back outside instead of letting it pool at the sill.
Flashing Sequence
Flashing has to be layered so water sheds downward and outward, shingle-style: sill pan first, then the window, then side flashing, then head flashing lapped over the top, integrated with the house wrap or building paper in the correct order. Skipping or reversing this sequence is the single most common cause of hidden rot we find when we open up an old opening.
Sealant — Where It Belongs and Where It Doesn't
Caulking the entire perimeter of a window sounds thorough but is actually a mistake in wet climates — sealing the bottom of the window traps any water that does get in, with nowhere to drain. Sealant belongs at the sides and top; the bottom needs to stay a drainage path, not a dam.
Fasteners and Hardware
Given the salt exposure this area gets, we use corrosion-resistant fasteners and hardware rather than standard-grade screws that can rust and stain trim within a few seasons.
Choosing a Window for This Exposure
There's no single "best" window material — it depends on the home, the budget, and how much upkeep you want to sign up for. Here's how the common options hold up under Bellingham's coastal conditions:
| Frame Material | Moisture Behavior | Maintenance | Notes for Columbia |
|---|---|---|---|
| Vinyl | Doesn't rot or corrode; won't absorb water | Low — occasional cleaning | Good value; verify UV and cold-weather rated frame quality |
| Fiberglass | Very stable, minimal expansion/contraction | Low | Handles temperature swings and moisture well; higher upfront cost |
| Wood | Attractive but vulnerable to moisture if seals fail | High — regular painting/sealing | We're cautious recommending unclad wood exteriors here; the maintenance burden in this rain pattern is real |
| Wood-clad (aluminum or fiberglass exterior) | Good — exterior shell protects the wood core | Moderate | Popular compromise for homes that want a wood interior look with less exterior upkeep |
| Aluminum | Durable but conducts heat/cold and can corrode near salt air over time | Moderate | Better suited to inland or commercial uses than direct coastal exposure |
We'll talk through these trade-offs honestly for your specific home rather than pushing whatever happens to be in stock — the right call depends on your siding, your budget, and how much maintenance you actually want to do.
How We Approach a Window Installation in Columbia
- On-site assessment: We look at the existing window, the wall assembly where accessible, and any visible water damage or moss buildup before quoting anything.
- Material recommendation: Based on your home's exposure, siding type, and budget, we recommend frame material and glazing options — not a one-size-fits-all product.
- Removal and opening inspection: Once the old window is out, we inspect the rough opening for hidden rot or prior flashing mistakes before installing anything new.
- Sill pan and flashing: We build or repair the sloped sill pan and install flashing in the correct shingle-lap sequence.
- Window installation and shimming: The new unit is set plumb, level, and square, shimmed correctly so it operates smoothly and seals evenly.
- Sealant and finish: Sealant goes where it belongs — sides and top, with the bottom left to drain — followed by trim and finish work to match your home.
- Final check: We test operation, locking, and look for any gaps before calling the job done.
What Affects Cost
| Factor | Why It Matters |
|---|---|
| Frame material | Vinyl is typically the most budget-friendly; fiberglass and wood-clad cost more upfront but often less in upkeep |
| Number of windows | Doing several at once usually reduces per-window labor cost |
| Condition of the rough opening | Hidden rot or prior bad flashing adds repair time before the new window can go in |
| Window size and style | Larger units, custom shapes, or specialty glass (impact-rated, low-E coatings) cost more than standard sizes |
| Trim and siding work | Matching existing trim profiles or repairing surrounding siding adds to the scope |
We give straightforward quotes after seeing the actual condition of your windows and openings — not a generic per-window number that ignores what's really going on behind the trim.
Why a Crew That Already Works Columbia Matters
Window installation done wrong doesn't usually fail on day one — it fails two or three winters later, after a few storm seasons have tested the flashing. A crew that's already worked houses in this part of Bellingham has seen how the wind-driven rain patterns and salt exposure here actually stress a window installation, not just how the manual says it should behave. That means fewer surprises: we know to expect moss buildup on sills that don't shed water well, we know which fastener grades hold up, and we know not to over-seal the bottom of a window just because it looks tidier that way.
It also means we're not guessing at code requirements or inspection expectations for Whatcom County — we work within them as a matter of course.
After Installation: Keeping Windows Performing
A correctly installed window in this climate still benefits from basic upkeep:
- Rinse or brush moss and debris off sills and tracks a couple of times a year, especially going into fall
- Check that weep holes (small drainage openings at the bottom of the frame) stay clear of dirt and debris
- Look at exterior caulking annually for cracking or gaps, particularly after a hard winter
- Operate each window through its full range a few times a year so hardware doesn't seize
None of this is heavy maintenance — it's the kind of thing that takes an hour a year and meaningfully extends the life of the installation.
If you're dealing with drafty, foggy, or sticking windows in Columbia, or you're planning ahead for a remodel, we're happy to take a look and give you a straightforward, no-pressure estimate — just fill out the form below.