 Bellingham Exterior
 Building New in Edgemoor Means Building for the Weather You Actually Get
Edgemoor sits close enough to Bellingham Bay that salt-laden air is part of daily life, and that changes what "correct" window installation looks like. New-construction window work is different from a replacement job — the window unit, the flashing, the water-resistive barrier (WRB), and the rough opening all get built as one integrated system before siding or trim ever goes on. Get that sequence wrong and you won't see the consequences for a year or two, when moisture starts finding its way into framing that should have stayed dry for decades.
For a home going up in Edgemoor, that means planning for wind-driven rain off the bay, near-constant humidity swings, and a moss and algae season that runs long here compared to drier parts of the state. None of this is exotic — it's standard Pacific Northwest coastal building — but it does mean the window install has to be done with that exposure in mind from the first cut in the sheathing.
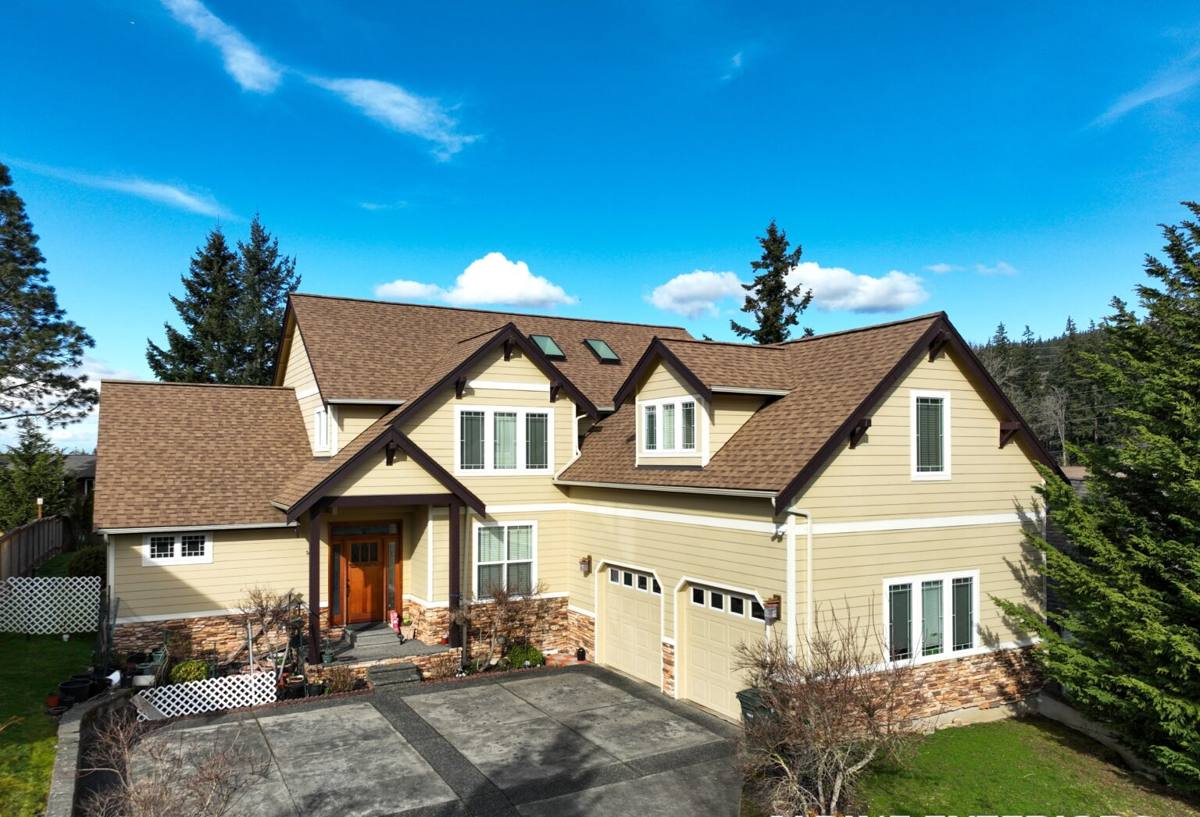
What Edgemoor's Climate Actually Demands from a Window Install
Salt Air and Metal Fatigue
Proximity to the bay means airborne salt settles on everything, including window hardware, cladding fasteners, and flashing metal. Untreated or mismatched metals corrode faster here than they would a few miles inland. That's why we pay attention to what flashing and fastener materials go around each opening — mixing incompatible metals (say, plain steel fasteners against aluminum flashing) sets up galvanic corrosion that eats away at the very components meant to keep water out.
Driving Rain, Not Just Rain
Whatcom County gets plenty of straight-down rain, but the wind off the water pushes moisture sideways and upward under eaves and into wall assemblies that a calmer climate wouldn't stress the same way. A new-construction opening needs flashing detailed for wind-driven rain — sill pans that actually slope and drain, head flashing that sheds water onto the WRB rather than behind it, and side flashing lapped in the correct shingle-style order so water always moves down and out, never sideways into the wall cavity.
Moss, Algae, and a Long Wet Season
Edgemoor's tree cover and marine humidity give moss and algae a long growing window most of the year. On windows specifically, this shows up less as growth on the glass and more as trapped moisture around sills and trim that never fully dries between rain events. Sill design, drainage gaps, and paint-grade trim choices all matter more here than in a drier climate zone.
What a Correct New-Construction Window Install Actually Involves
New-construction windows are installed with a nailing fin or flange that gets integrated directly into the wall's water management system, before siding goes on. Done right, the sequence looks like this:
- Rough opening is checked for square, level, and correct size — with a small amount of tolerance built in for shimming
- A sloped sill pan flashing is installed first, so any water that gets past the window has a built-in path to drain back outside
- The window unit is set, shimmed plumb and square, and fastened per the manufacturer's schedule
- Flashing tape or flexible flashing is applied at the jambs, then the head, always lapping so upper layers overlap lower ones — never the reverse
- The WRB (housewrap or building paper) is integrated over the head flashing and under the sill flashing, maintaining a continuous drainage plane
- Interior and exterior sealant is applied at the specific points the manufacturer calls for — sealing everything solid, with no path for incidental water to escape, is a common mistake that traps moisture instead of shedding it
Every one of those steps is inspectable before the wall gets closed in, which is one real advantage of new construction over a retrofit: there's no siding or trim to remove and no guessing about what's hidden behind existing finishes.
Where This Goes Wrong on Coastal Jobs
- Sill pans skipped or installed flat instead of sloped, so trapped water has nowhere to go
- Flashing lapped in the wrong order, directing water behind the barrier instead of over it
- Fully caulking the exterior with no weep path, sealing moisture inside the assembly
- Incompatible metals paired at flashing and fasteners, inviting corrosion in a salt-air environment
- Window units substituted mid-build without re-checking rough opening tolerances
Choosing Window Products for a Salt-Air, High-Moisture Site
We don't push one brand or material as universally "best" — every product line is a set of trade-offs, and the right call depends on budget, the home's design, and how much upkeep the owner wants to take on.
| Frame Material | How It Handles Edgemoor's Climate | Maintenance Reality |
|---|---|---|
| Vinyl | Good moisture and salt resistance, no repainting needed | Low — occasional cleaning of frame and tracks |
| Fiberglass | Very stable in temperature and humidity swings, holds paint well if color changes are wanted later | Low to moderate — factory finish is durable but periodic inspection matters near the coast |
| Wood (clad or unclad) | Handles moisture well only with intact cladding or diligent finish maintenance; bare wood in salt air needs real attention | Higher — finish upkeep is non-negotiable this close to the bay |
| Aluminum | Strong and slim sightlines, but thermally conductive and prone to condensation without a thermal break | Moderate — check fastener and flashing compatibility carefully |
Glass packages matter too. Double-pane, low-E glass with argon fill is standard for new construction in this climate and handles Whatcom County's temperature swings and condensation risk well. We'll walk through U-factor, solar heat gain coefficient, and condensation resistance ratings for whatever product line fits the project's budget — those numbers matter more here than they would somewhere drier and milder.
Our Process for a New-Construction Job in Edgemoor
1. Plan Review and Rough Opening Coordination
We work from the framer's or builder's plans to confirm rough opening sizes match the specified window schedule before units are ordered, catching mismatches while they're still cheap to fix.
2. Flashing and Drainage Plane Detailing
Before a single window goes in, we confirm the WRB is lapped correctly and the sill pan strategy is set for each opening — this is the step that determines whether the wall stays dry for the next 30 years.
3. Installation and Fastening
Units are set plumb, level, and square, fastened to the manufacturer's schedule, and shimmed so the frame isn't stressed or bowed — a bowed frame binds hardware and shortens the life of weatherstripping.
4. Sealant and Trim Integration
Sealant goes exactly where the manufacturer specifies — not everywhere — and exterior trim details are coordinated with the siding crew so water always has a way out, never a way to hide.
5. Final Walkthrough
Every opening gets checked for smooth operation, correct seal, and flashing that's fully hidden behind trim before we call the job done.
Why Hiring a Crew That Already Works Edgemoor Matters
Window installation instructions from any manufacturer are written to a general standard. Applying them correctly on a bay-adjacent lot in Bellingham means knowing which details need extra attention — sill pan slope, metal compatibility, and drainage gaps chief among them — because generic instructions don't call out regional exposure. A crew that's done this work up and down the Whatcom County coastline already knows which flashing sequences hold up here and which ones cause callbacks two winters later.
There's also a simple logistics advantage: local crews aren't guessing at lead times for coastal-appropriate materials, and they can schedule installation around actual Bellingham weather windows instead of a generic forecast.
Cost Factors for New-Construction Windows in This Area
| Factor | Why It Moves the Price |
|---|---|
| Frame material chosen | Vinyl, fiberglass, wood, and aluminum carry different material and labor costs |
| Glass package | Upgraded low-E coatings, gas fills, and impact-resistant glass add cost but pay off in comfort and durability here |
| Number and size of openings | Larger units and more openings mean more flashing detail work, not just more glass |
| Site access and timing | Coordinating install around framing and siding schedules affects labor efficiency |
| Flashing and drainage detailing | Doing sill pans and lapped flashing correctly takes more time than a rushed, minimum-code install — and it's the part that protects the home long-term |
We won't quote a job without seeing the plans and the site, but homeowners should expect that correct coastal-grade flashing work costs a bit more upfront than the bare minimum — and that it's cheaper than fixing rot behind a wall five years later.
A Few Practical Checks Before Your Windows Go In
- Confirm the window schedule matches the actual rough openings framed on site
- Ask what sill pan and flashing strategy will be used at each opening
- Ask which fasteners and flashing metals are being paired, given the salt-air exposure
- Confirm glass package specs (U-factor, SHGC) fit the home's orientation and Whatcom County's climate
- Walk the site with your installer before siding closes in the walls, while flashing is still visible
If you're planning new construction in Edgemoor and want windows installed to hold up against salt air, driving rain, and a long wet season, we're happy to walk the plans with you. Reach out for a free, no-pressure estimate using the form below.